Houseplant lovers often give up on Phalaenopsis that look lifeless, but those limp leaves and bare spikes do not always spell the end. A surprising kitchen leftover offers a budget friendly, eco conscious way to nudge roots back to work and set the scene for fresh blooms. The method begins with spotting real signs of life, then mixing a simple homemade feed and applying it under the right light and temperature. With practical pointers from grower Mark Curran of Heavenly Orchids, the path from near decline to renewed vigor becomes clear and refreshingly attainable.
Spotting a failing phalaenopsis
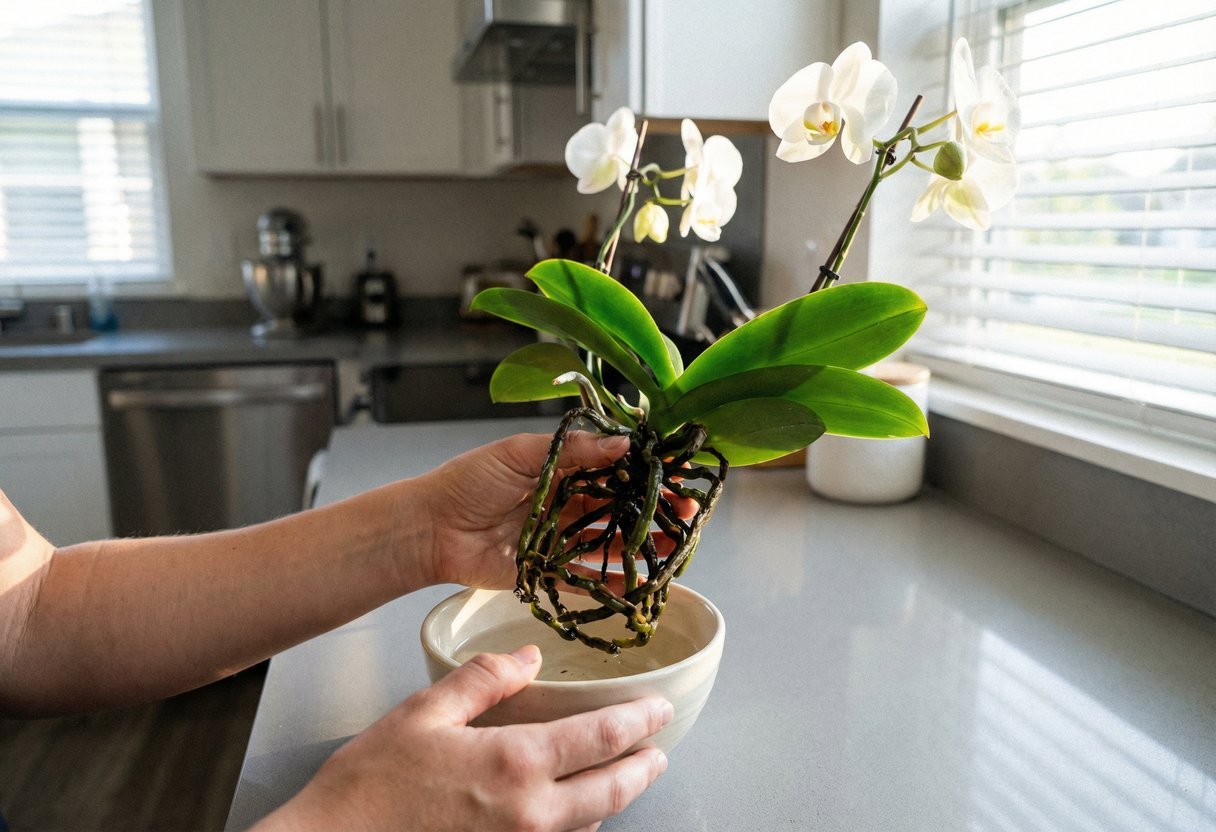
On the windowsill, a phalaenopsis can look past saving: limp leaves, a bare spike, roots turning brown. But is it truly dying, or just resting? Firm, green to silver roots signal life, while mushy brown roots and a sour smell point to rot. If roots feel solid and the pot drains well, recovery is within reach.
- Unable to find buyer, they offer their 1,400-square-foot apartment in a 10-dollars raffle
Unable to find buyer, they offer their 1,400-square-foot apartment in a 10-dollars raffle
- Don’t cut down your dead trees, they’re essential for the survival of many bird species
Don’t cut down your dead trees, they’re essential for the survival of many bird species
The quiet power of corn water
Boiled corn leaves behind a starchy, nutrient‑tinged liquid that can help orchids regain momentum. The starch feeds beneficial microbes around the roots, indirectly supporting growth. A similar logic drives rice‑water hacks; specialists, including Mark Curran of Heavenly Orchids, note rice water carries trace nitrogen, phosphorus, potassium, and starch that benefit root ecosystems. Corn water isn’t a miracle, but it can be a gentle nudge.
How to make the rescue elixir
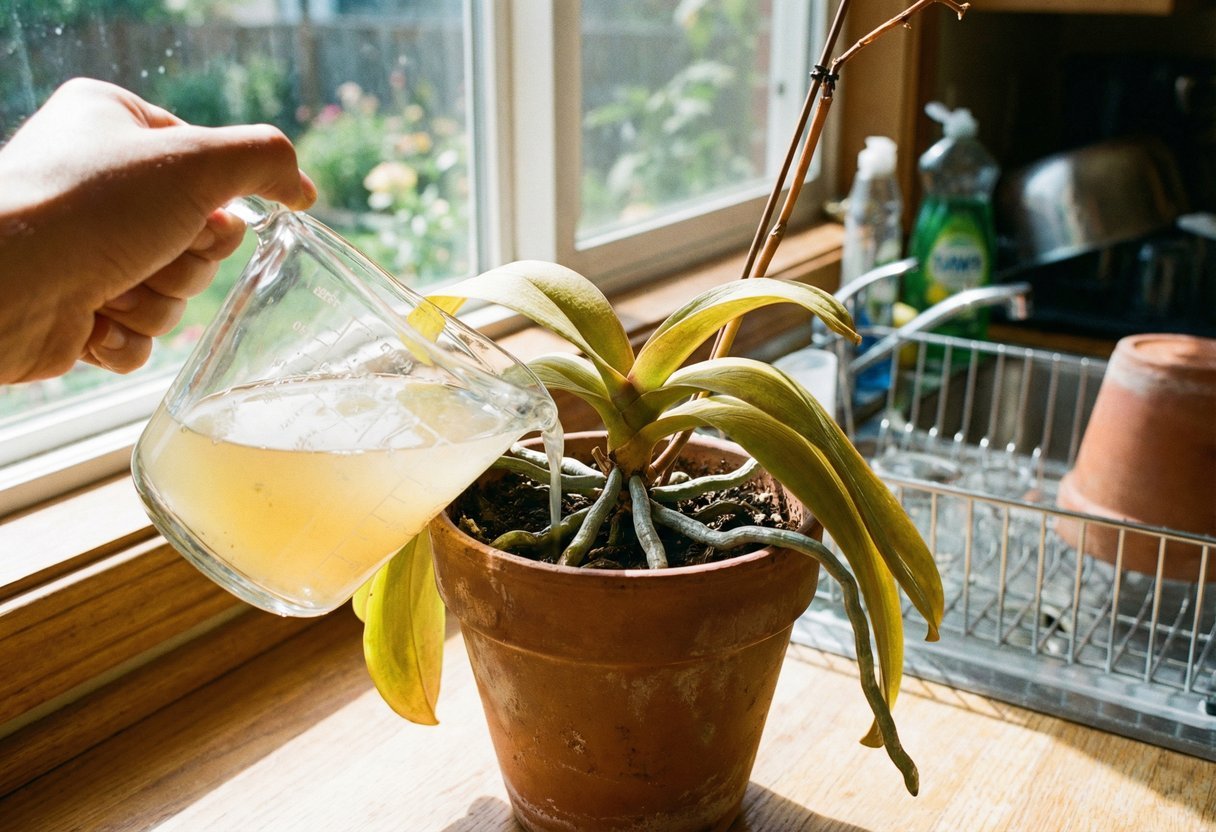
Cook corn as usual, but skip salt entirely. Let the liquid cool, then strain it through a fine sieve or coffee filter to keep residue out of the bark. For a richer mix, blend 100 g cooked, unsalted kernels with 1 liter of warm water and strain again. Use fresh within 24–48 hours and discard at the first hint of a sour odor.
Applying it and caring for the plant
Moisten the medium with plain water, then apply a light dose: 1–2 teaspoons over the roots, letting excess drain. Repeat weekly if the plant is actively growing; cut back if conditions are cool or the medium stays wet. Avoid waterlogged pots and keep air moving gently around the crown to deter fungus. Bright, filtered light and steady humidity make the treatment count.
To coax new spikes, pair nutrition with a mild temperature dip. Aim for 19–21 °C by day and 15–16 °C at night for 10–15 days, without dropping below 13 °C. Keep the plant away from radiators and midday sun; morning light behind a sheer curtain works well. Consistency beats intensity here.
- For just €7, this IKEA sensor instantly alerts you when a door or window is opened
For just €7, this IKEA sensor instantly alerts you when a door or window is opened
- I thought my orchid was doomed until this trick revived its bloom in 24 hours
I thought my orchid was doomed until this trick revived its bloom in 24 hours
What to expect
Under stable care, signs of recovery often appear within weeks. Look for firm, silvery‑green root tips first, then thicker leaves and, later, tiny bud nubs along the spike. Many growers report fresh roots around week 3 and blooms following in subsequent weeks, a quiet reward from a humble kitchen leftover.